Beer 101
I decided that I wanted to brew my own beer. Immediately I thought of my cousin, Ron, who has over 16 years brewing experience, resident brewing expert and has taught homebrew to many people. So I called him and he got me in contact with Kim at Let's Brew.
I set up a time so that Ron could teach both myself and my friend Karen in the kitchen how to do a home brew in a small batch. Karen has gluten intolerance so she was able to create a gluten free beer. I decided to make a Belgian style beer called Abbey.
 |
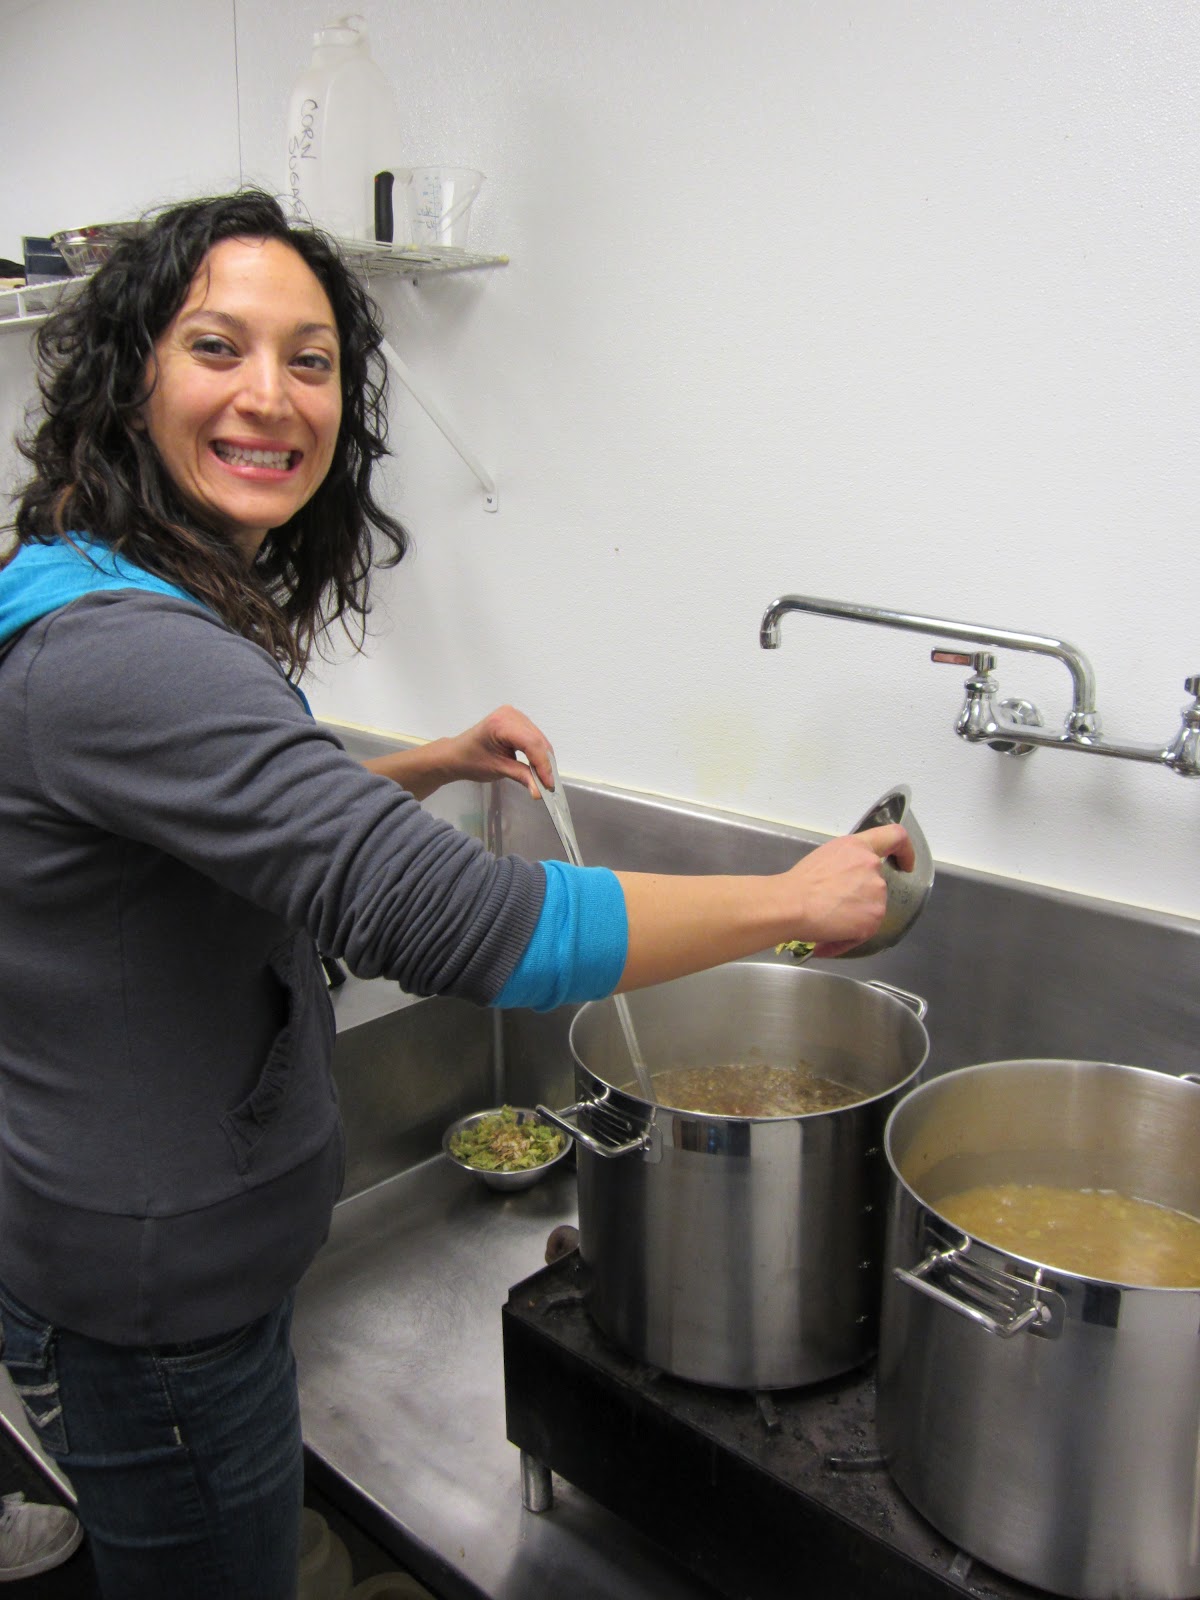
| Karen adding in hops |
Specialty grains were placed in hot water to steep. For Karen, she had adjunct grains of corn to steep. As for the pots water on the burners, I added belgian candy sugar and hops. Karen added sorghum and hops. Hops come from the Humulis Lupulus plant or vine. It is the female flower that is used in brewing. Hops are what makes beer bitter. Hope also act as a natural preservative that allows beer to last up to a year in storage at properly controlled temperatures.
To be honest, the concoction of water, hops and sweetener didn't look so great - much like the consistency boiling watery puke. Look below and decide for yourself.
 |
| Left is my Abbey Ale and the right is Gluten Free |
We then drained off the water that the grains or corn were steeping in and added it to the pots with another round of hops for aroma and I added sweet orange peel to my beer.
 |
| Sterilizing the fermenter |
Everything must be sterilized because of the yeast in the beer. Any contamination that gets to the yeast affects the beer. Which by the way, beer gets most of it's flavor from yeast.
 |
| Adding in hops |
 |
| Ron |
Once the process of boiling is complete, we transferred the pots to the sink area where we placed an immersion wort chiller which is a coil of copper tubing that has cool water running through it. You stir the beer (without creating bubbles) to a set temperature....which I can't remember at this time. This is why I had Ron help me being the beer expert. Then the beer can be transferred into the fermenter. Once the beer is in the fermenter yeast is added and the Brix is checked with a refractometer, which measures the number of Brix, identifying which identifies the amount of sugar content that is in the beer before fermentation. Post fermentation a Hydrometer is used to check the gravity of the beer and then alcohol content can be measured.
 |
| Karen pouring her beer |
 |
| Pouring in my creation |
 |
| Checking Brix |
 |
| Writing down pertinent info |
 |
| Look how different our beer is. |
 |
| Quality time with Ron |
Brewing Beer Part Deux
Two weeks later we return to Let's Brew. We begin by choosing our caps for our bottles and cleaning the bottles. The bottles are washed and some are transferred to a holder, as we needed to wash additional bottles.
 |
| Cleaning the bottles |
 |
| Redneck Christmas Tree |
Next is to transfer the beer and not take any of the yeast. The beer is siphoned off so that we can pour the beer into the bottles.
 |
| Look at the yeast at the bottom |
 |
| Siphoning the beer |
The bottling process is four steps once the bottles are washed.
- Add a carbonation drop
- Blow out any additional air in the bottles with CO2
- Add beer
- Cap bottle
Ok the last step is to place the bottle in the box.
 |
| Adding carbonation |
 |
| Blowing out the air |
 |
| Pouring in the beer |
 |
| Capping the beer |
 |
| Finished product |
The beer is stored at room temperature for about two weeks. I am then going to test one of the beers. It is not quite two weeks yet. However, I am anticipating that it will be fabulous. I always enjoy spending time with Ron and had a blast doing this. In the future, I would like do a barley wine and honey cream ale. Watch out McMenamins.
***As of today the beer is ready to taste, however, I am in not in a position to taste anything as I have come down with the flu. I will keep you all posted.


Great now Karen has something else to drink out of a bottle besides wine!!!!
ReplyDelete